I love the idea of an easily changeable front porch decoration that can hang signs related to holidays, birthdays or any event. So I figured I’d give it a whirl!
First, you’ll need a 4″ x 4″ post. The post we used was one that we had previously used to hold up half of our hammock at our old house. We didn’t have two large trees close enough together so this was the solution. Now it’s being re-purposed!
We cut our 4″ x 4″ post to 42″ tall. You can cut a profile in the top of the post to make it a little more pleasing to the eye. This post has a 1/2″ x 1/2″ groove cut into the top. The top 4 edges have a 30 degree chamfer cut out. This was done using a circular saw. You can also go to your hardware store and get a fence post that already has a profile cut into it.
The next step is to make a base for the post. (That’s my hubby, the hand model. He was a great help on this one! :D) We used a scrap piece of 2″ x 6″ board for the top tier of the base and scrap pieces of 1/2″ x 3″ board for the bottom tier.
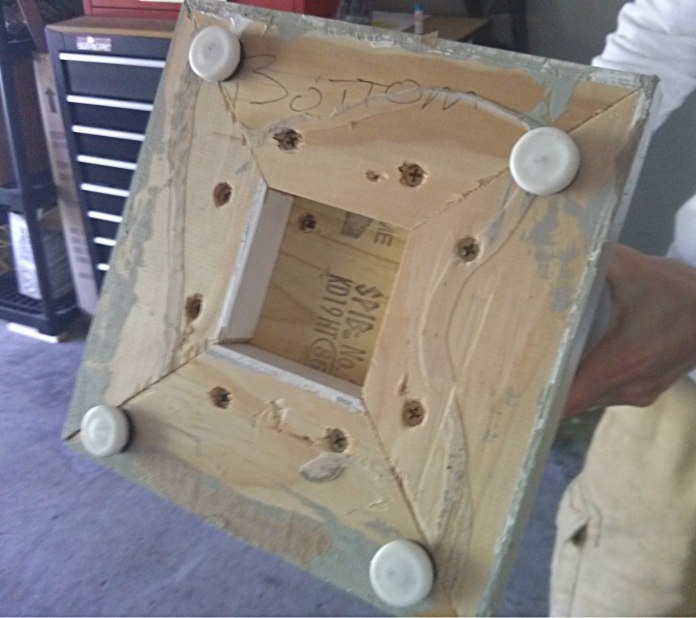
The 2″ x 6″ board was cut to 5-1/2″ x 5-1/2″ and screwed on the bottom of the post with 4 screws. Be sure it’s centered onto the post!
The 1/2″ x 3″ board was cut into 4 pieces in this size:
 You could also get a 1/2″ x 8″ board for the bottom teir and cut a large square as done with the top. The size would be 7-1/2″ x 7-1/2″. We were just using what we had laying around the garage! The 4 pieces were screwed onto the bottom of the 2″ thick top tier using 2 screws per angled piece.
All the joints and seams were caulked using standard latex caulk. This will make for a soft seamless look once painted.
Now it’s time to make it pretty! :) I painted the post in Sprig of Ivy from Olympic paints carried at Lowes. (We had this left over from painting bookshelves my husband made.) You can use any color you wish! Plain white would look really nice or wood stain for the natural look.
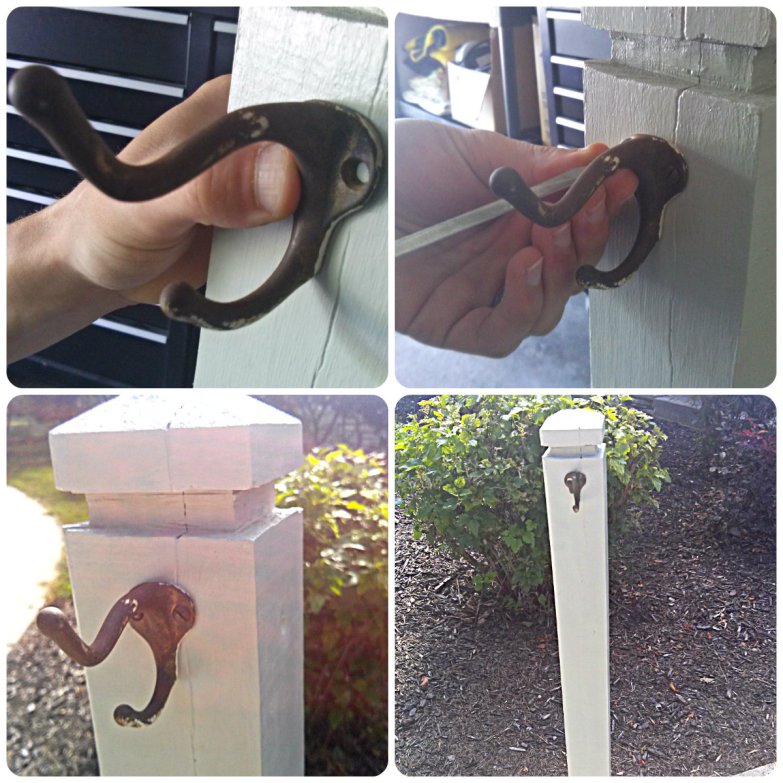
Next, screw in a hook towards the top of the post. A hook like this can be found at any hardware store. This one is placed 1″ inch down from the top groove.
We also put four small furniture gliders on the bottom of the post. This will be sitting on our front porch and it will be exposed to rain, snow, sun etc. The furniture gliders should help keep the post up out of any water.
Now comes the sign! You can make one for Christmas, Halloween, Thanksgiving or whatever your heart desires! I started out with a simple ‘Welcome’ sign.
We had extra reclaimed wood laying around, so I used that. You can pick up a 1/2″ by 6″ board from your local hardware store and age it or paint it whatever color you’d like!
First I had to make some stencils in order to make the ‘WELCOME’ letters. I printed out the letters I needed using heavy cardstock paper. With an x-acto knife I cut out the letter and I had the stencil I needed! This is really quick and easy to do and you can choose whatever size and font you want! I also used this technique here: http://wp.me/p3DA1J-1h
Then I outlined the letters onto my board. Make sure you keep evertyhing evenly spaced and level. Then I painted in the letters by hand. I just used plain white paint and a small craft paint brush.
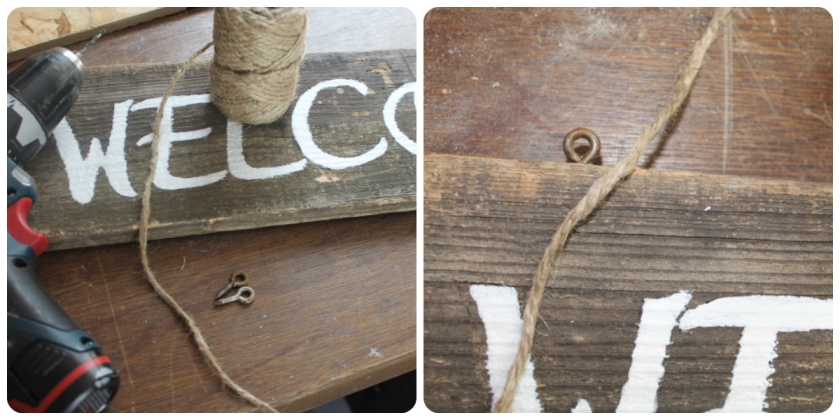
Once the sign was dry I drilled two small holes in the top of the sign and screwed in two eye hooks to the top edge, evenly spaced 1-1/2″ in from each edge.
With some twine I hung the “Welcome” sign.
Both the post and sign were sprayed with clear polyurethane to protect them from the elements! It’d be a shame to do all this work and then have the paint chip right away.
Not too shabby, huh?! There are a lot of things that could be done with this idea. I can’t wait to make a Fall related sign and decorate my front porch with pumpkins and gather fall goodies! “Give Thanks” maybe?!
But lets not get ahead of ourselves, have to enjoy what’s left of warm summer-like days!
Welcome Post Plans
What you’ll need:
- 4″ x 4″ post
- 2″ x 6″ board (top tier)
- 1/2″ x 3″ board (bottom tier)
- (8) 2″ long screws
- Silicone Caulk
- Circular saw
- (1) Large Hook
- (4) Small Furniture Gliders
- 1/2″ x 6″ board (for sign)
- Paint
- Paint Brush
- Clear Polyurethane Spray
- (2) Small Eye Hooks
- Twine
- Stencils, or make your own!
Plan Diagram (this is where the engineering degree and the blog collide >> 3d modeling, woot!):


Hi! I know this is somewhat off topic but I was wondering if you knew where I could locate a captcha plugin for my comment form? I’m using the same blog platform as yours and I’m having trouble finding one? Thanks a lot!
Make sure the ‘allow comments’ box is checked on your posts? I’m not sure why that wouldn’t show up. Sorry!